Triscend describes the use of the OrCAD Express Schematic Editor for creating FastChip CSL module designs in their document Designing_with_OrCAD_Express.pdf
This article is based closely on the above document, but relates to OrCAD Capture 9.2 - Lite Edition:

Follow these steps to begin using OrCAD:
Start OrCAD
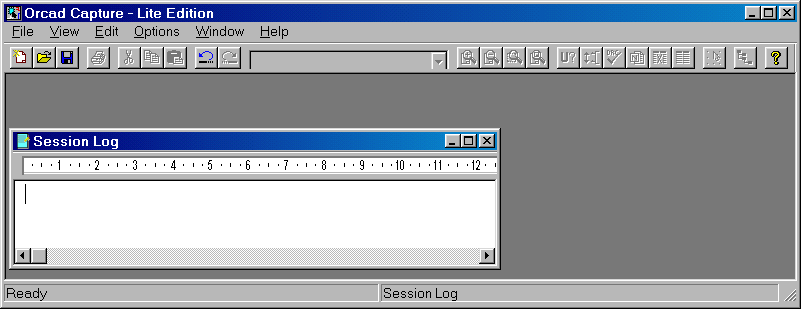
The OrCAD Capture screen appears, which is blank apart from an empty
Session Log:
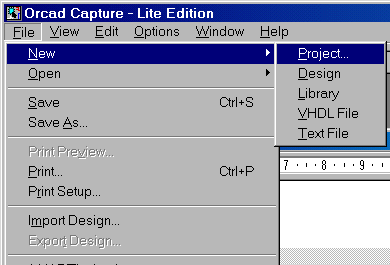
From the File menu, select New, and then select Project.
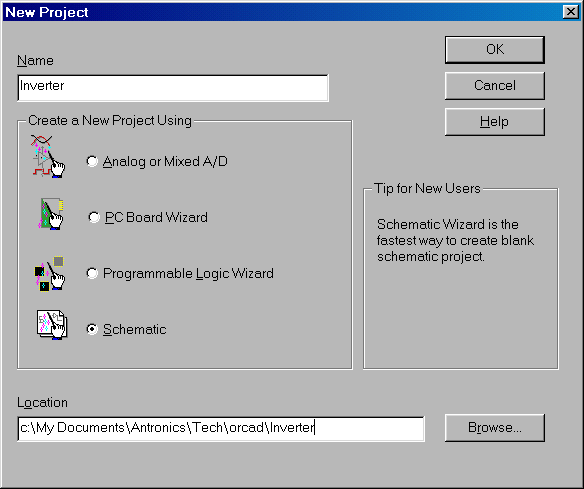
Enter a suitable name & location for the Project, and choose 'Schematic' from the list of Project types:
The OrCAD window will now contain a Project Manager window and a blank Schematic page
Note that, when the Schematic window is active, a toolbar appears down the left-hand side of the main OrCAD window:
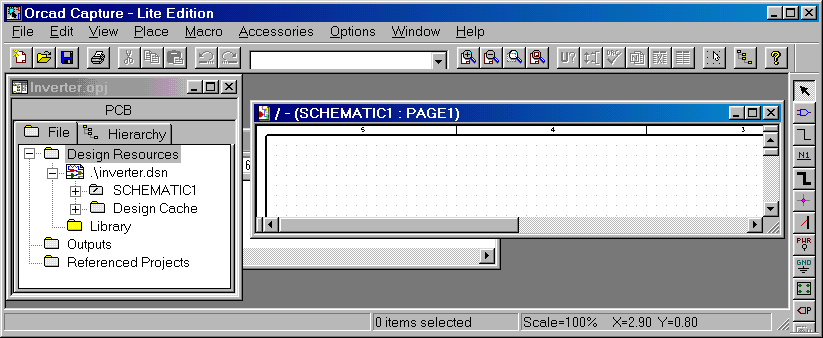
OrCAD automatically creates a new Design, with the same name as Project; there is no need to manually create a new Design.
In order to use items from the Triscend libraries supplied with FastChip, you need to point to the Libraries
On the Schematic toolbar, click the 'Place Part' button: ![]()
The 'Place Part' dialogue appears:
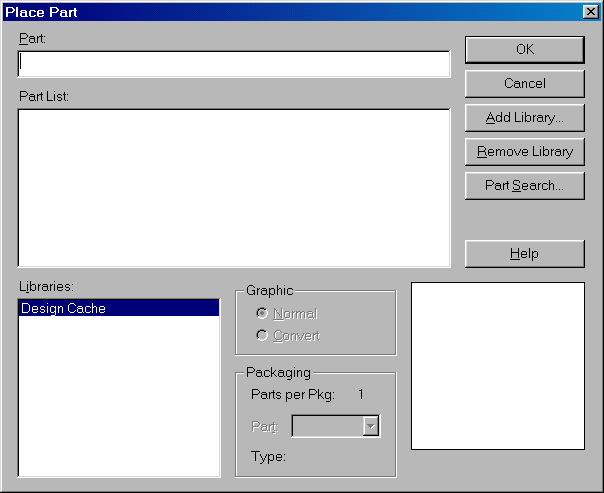
Click the 'Add Library...' button
This opens a standards windows File Open dialogue; you need to select the Triscend Schematic Capture Library,
[FastChip Root]\Data\Libraries\Schematic\Orcad\Triscend.olb
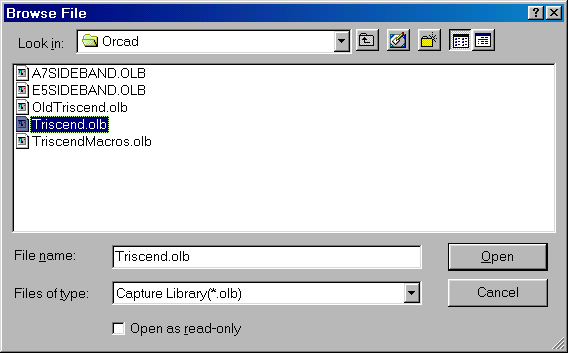
Click 'Open', and then "TRISCEND" will be added to the list of Libraries, and the 'Part List' will contain the Library items:
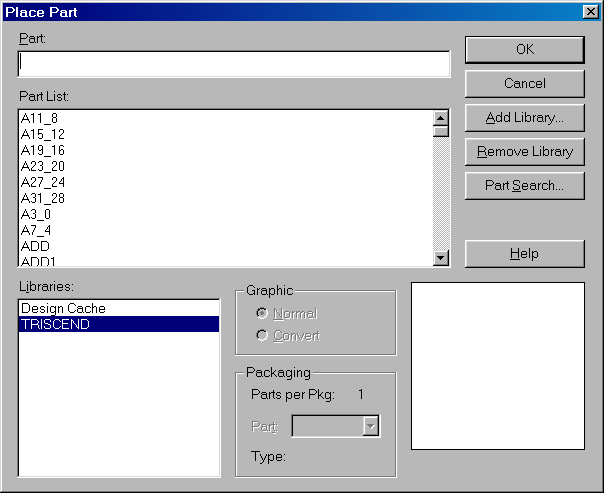
Similarly, add the TriscendMacros.olb Library:
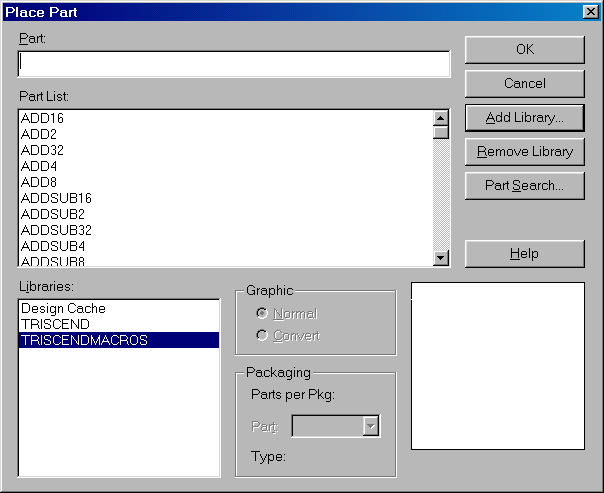
You can now use the items from the Triscend libraries in your designs
When you have completed the Schematic design, you must export it to an EDIF Netlist which can then be imported as a module into FastChip
In the OrCAD Project Manager window, select the "Root"
level of the Design
(You can switch to the Project Manager window by pressing the
'Project Manager' button ![]() )
)
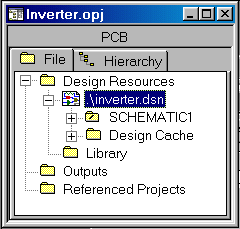
Click the 'Annotate' button ![]()
In the 'Annotate' dialogue, choose 'Update Entire Design' and 'Unbconditional Reference Update':
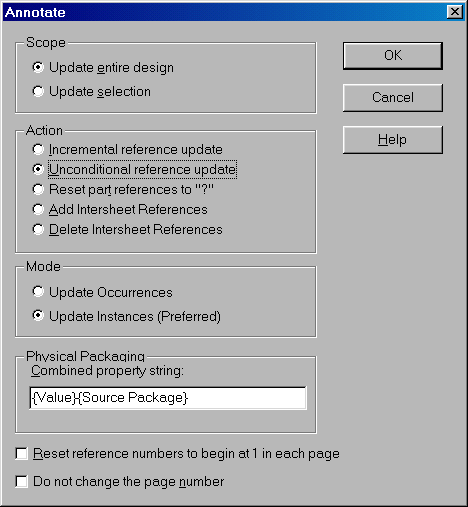
Click 'OK', and OrCAD will proceed to Annotate and save the design.
Click the Design Rule Check (DRC) button ![]() and select the required DRC options:
and select the required DRC options:
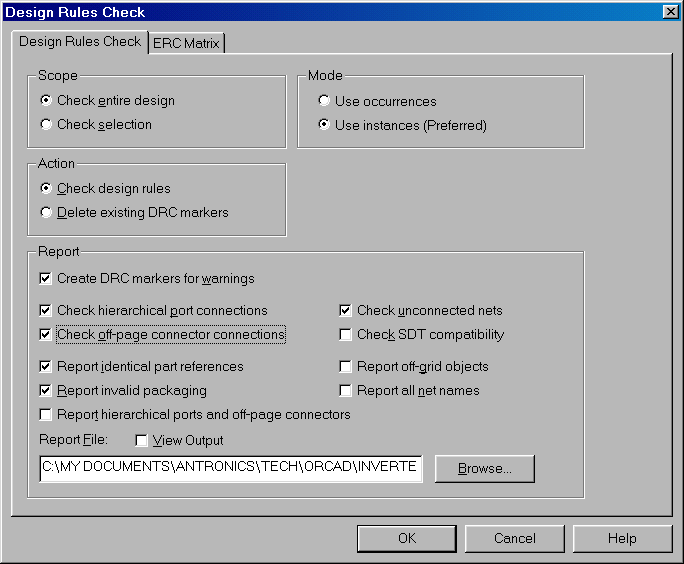
The resutls of the Design Rules Check will appear in the Session Log window - any problems should be attended to now!
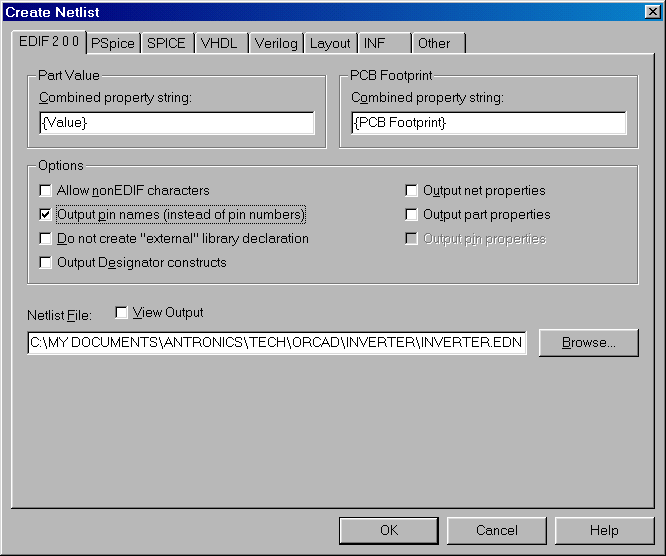
Once the Design Rules Check is satisfactory, press the 'Netlist'
button ![]()
Ensure that 'Output Pin Names' is checked, and 'Do not create "external" library declaration' is not checked.
The destination folder can be specified; the folder containing the FastChip Project into which the Netlist will be imported would be a good choice!
Open the required Project in FastChip
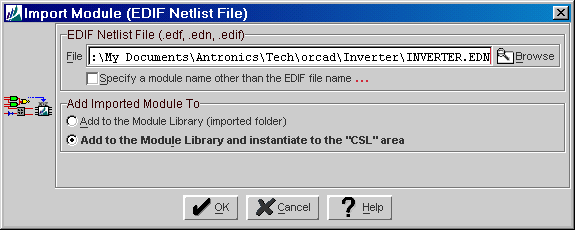
On the 'Tools' menu choose 'Import', then 'Import Module From File...'

In the 'Import Module' dialogue, enter the full path to the EDIF Netlist file, and select whether you just want to add the module to the Project Library, or also add an instance of the module in the target CSL configuration:
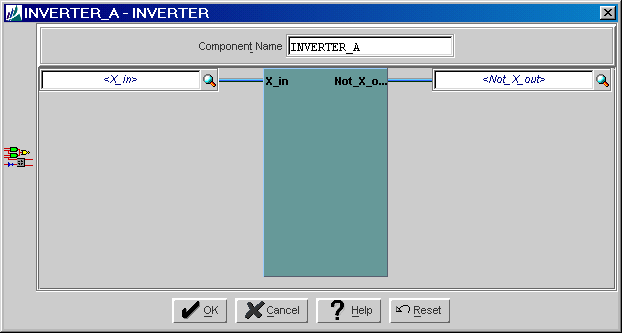
The 'Edit Module Instance' dialogue will show the module as a block, with all inputs on the left and outputs on the right:
The 'Help' button will show a brief summary of the Module:
TYPE
module

SOURCE
C:\My Documents\blah\blah\Triscend\ImportedForTriscend\INVERTER.txt

LOCATION
UNKNOWN

---
--- IMPORTED MODULE [INVERTER]
---

SOURCE
        C:\\My Documents\\blah\\blah\\orcad\\Inverter\\INVERTER.EDN

DATE CREATED
        Mar 5, 2002

INTERFACE
        input   X_in;
        output  Not_X_out;

CHARACTERISTICS
        NONE
---
---

DEPRECATION HISTORY
NONE